How To Make Enamel Pins
Table of Contents
Introduction
Many people think creating custom enamel pins is a complex and time-consuming process. However, it’s actually quite simple and straightforward. In most cases, it only takes 2-4 weeks from start to finish. So, how do you create your own enamel pins? This guide breaks down the process into six easy-to-follow steps.Prepare Your Design File
To begin production, the first thing a pin manufacturer will need is a PDF file of your design. For a more detailed approach, you might want to check out resources on selecting the best enamel pin factories and how to design enamel pins. You can either sketch your idea on paper, color it, and scan it as a PDF, or use graphic design software to create a digital file of your artwork. Here are some design tips for beginners:- Keep It Simple: Pins are small, typically around 1-2 inches in size. Fewer lines and details will result in a clearer and cleaner design.
- Use Bold Lines and Vibrant Colors: Since pins are small, thin lines and muted colors might not be as visible. Opt for bold lines and strong colors to make your design stand out.
- Avoid Shading: Pins don’t support shading, as colors are separated by solid lines. To save time, avoid including shading in your design.
Choose the Right Material for Your Pin
Pins can be made from various materials, but most people choose between two types: Hard Enamel and Soft Enamel.Hard Enamel Pins
These pins have thin metal lines that separate the colors, resulting in a smooth, polished finish. They are made from die-struck iron, heated to high temperatures, and polished for a durable, high-quality feel.Soft Enamel Pins
These pins have a textured surface, allowing for more detail and usually costing slightly less. They are also made from die-struck iron, electroplated, and often coated with epoxy, which gives them a thinner feel compared to Hard Enamel pins. Both materials have their advantages, so choose the one that best suits your design.Determine the Size of Your Pin
With your design and material selected, the next step is to decide on the size of your pins.Smaller Pins
Typically between 0.75-1.25 inches, smaller pins are more portable, easier to place on various surfaces, and usually less expensive. However, they may not accommodate detailed designs.Larger Pins
Larger than 1.25 inches, these pins allow for more intricate designs but may be less versatile in terms of where they can be worn. If you have a simple design and are on a budget, smaller pins are ideal. For more detailed designs and if you’re willing to invest more, larger pins are a better option.Decide on the Quantity of Pins to Produce
Once you’ve settled on the artwork, material, and size, it’s time to decide how many pins you want to produce. Most manufacturers require a minimum order of 100 units. It’s often best to start with the minimum order and increase production if the pins sell well. It’s difficult to predict how successful your pin will be, so it’s safer to start small and reorder if needed.Choose the Number of Pin-Backs
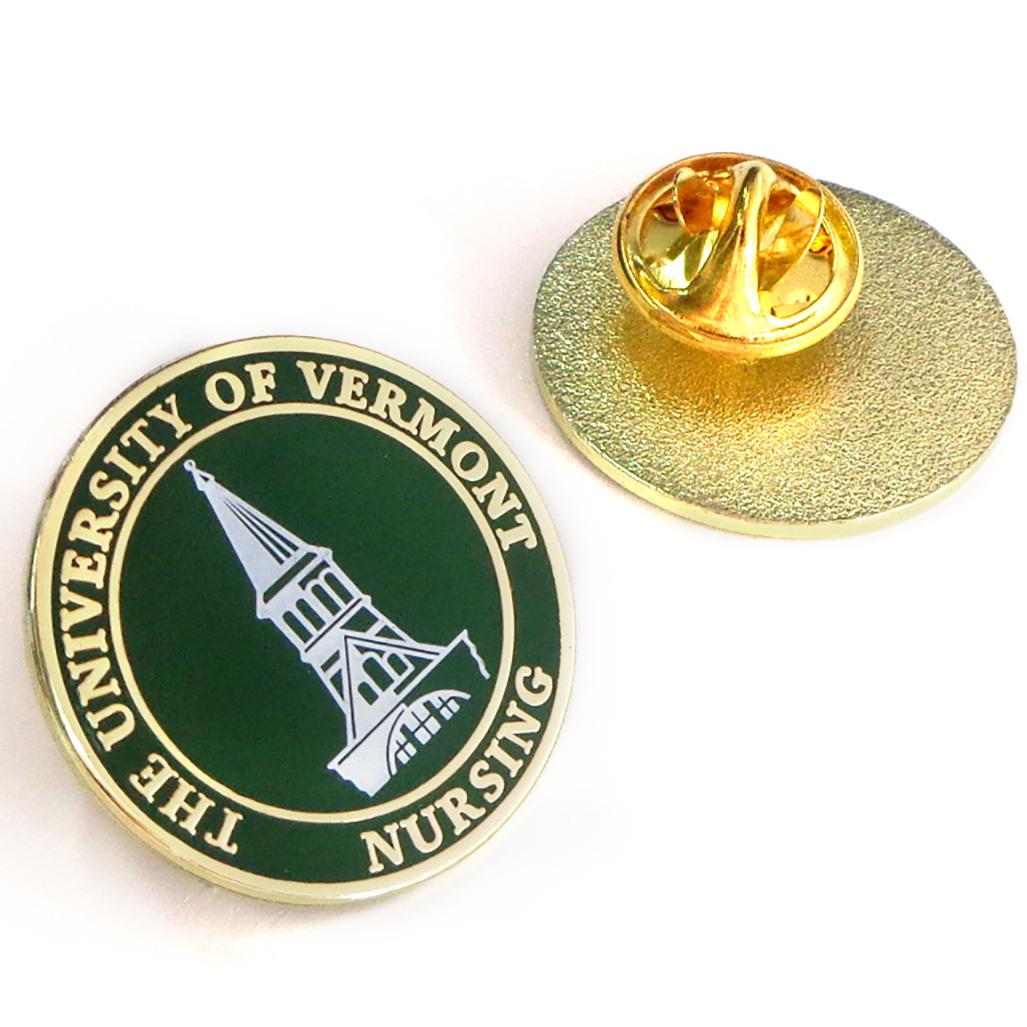
A pin-back is the mechanism that secures the pin to a surface. Always opt for two pin-backs per pin. Using only one can cause the pin to rotate or fall off, increasing the risk of losing it. Many first-time pin creators make the mistake of using just one pin-back, only to regret it later when their pins are lost. Avoid this by always including two pin-backs.Select a Reliable Manufacturer
Finally, it’s time to find a factory to produce your pins. You can find trusted manufacturers by searching online or reading reviews. Be cautious of suppliers outside China claiming to manufacture pins; they might be middlemen who charge more. If a supplier claims to make pins in the USA, ask for video proof of their factory to verify their authenticity.Consider Eco-Friendly Materials
As sustainability becomes increasingly important, consider using eco-friendly materials for your pins. Some manufacturers offer options that reduce environmental impact, such as recycled metals or biodegradable packaging. This can enhance your brand’s reputation and appeal to eco-conscious consumers.Explore Unique Pin Shapes
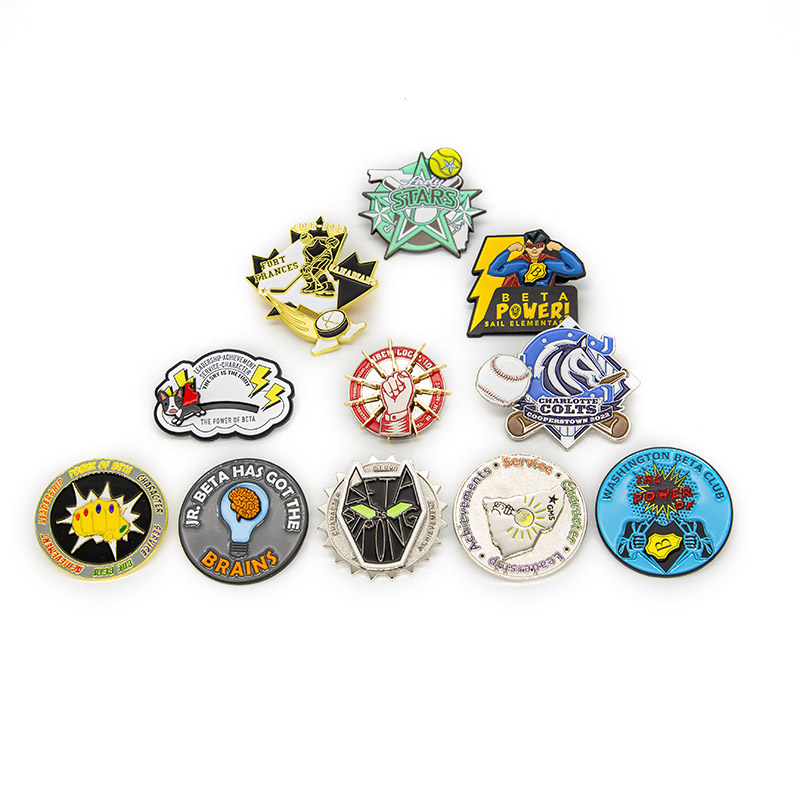
While most pins are round or rectangular, consider experimenting with unique shapes that align with your design theme. Custom shapes can make your pins more distinctive and memorable, helping them stand out in the market.Conclusion: Simplify the Process and Create Stunning Custom Pins
Creating custom enamel pins is a straightforward process when broken down into these steps. By preparing your design, choosing the right materials, and working with a reliable manufacturer, you can produce high-quality pins that effectively represent your brand or personal style. Start your pin-making journey today, and bring your unique designs to life with custom enamel pins!Comments
Related Blog
Learn about the latest trends and common sense in the custom pin business from our blog.


