What are your tips to make enamel pins
Table of Contents
Introduction
Enamel pins, or lapel pins, are very popular now. People use them to show their unique style, affiliations, and to collect special designs. Custom enamel pins are a favorite among fans and artists. This guide will help you learn about enamel pins. You will find step-by-step instructions. You can go from learning the basics to putting your own designs out into the world.Understanding Enamel Pins
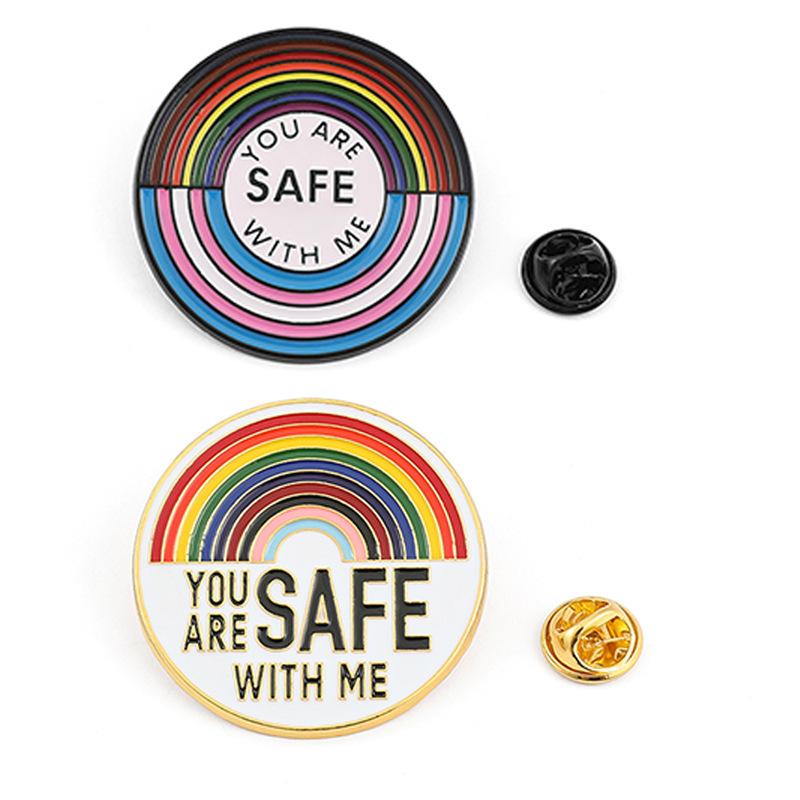
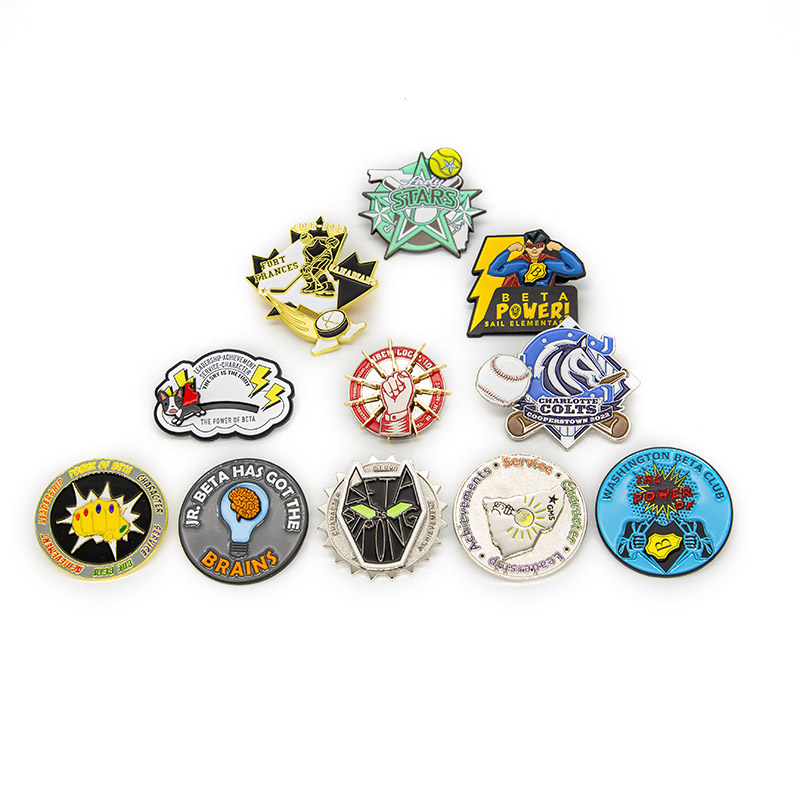
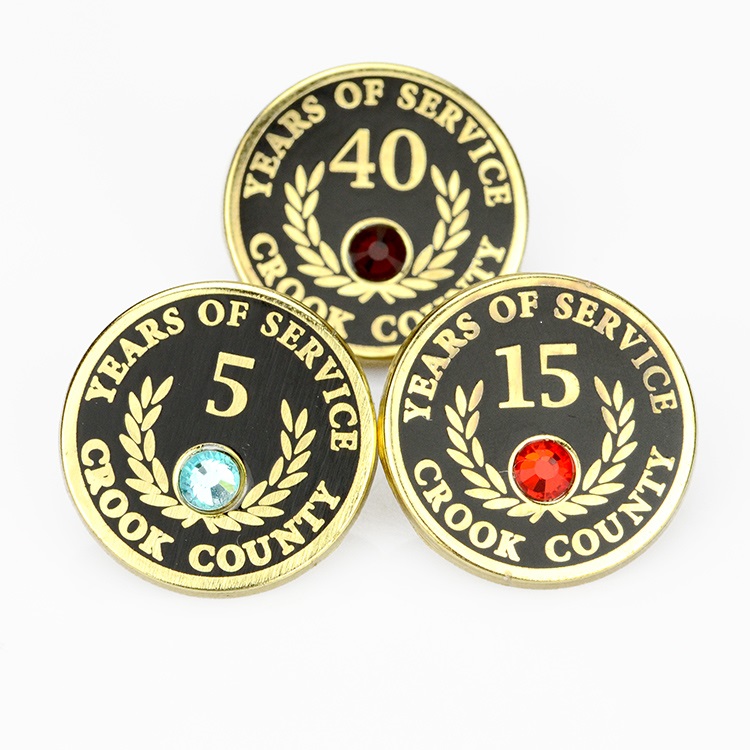
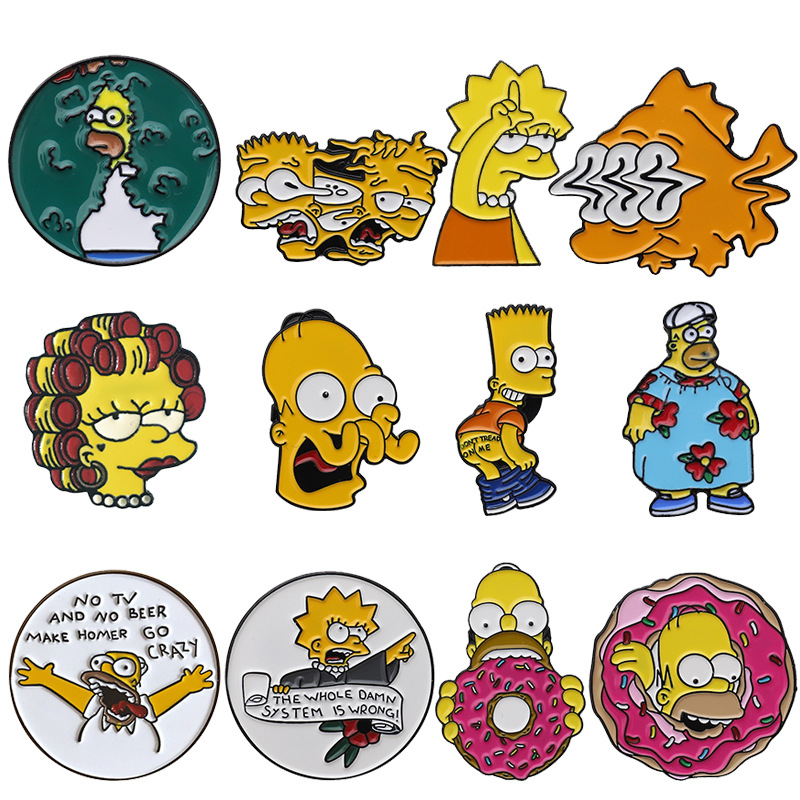
Enamel pins are small and decorative accessories made mostly from metal with colored enamel. You can wear them on jackets, bags, hats, or even keep them as collectibles. They change artwork, logos, and ideas into fun, wearable art. Originally, enamel pins were symbols of success and belonging. Now, they are a lively way to show yourself and a popular creative hobby. This guide will help artists, business people, and anyone interested in creating enamel pins.The Basics of Enamel Pins
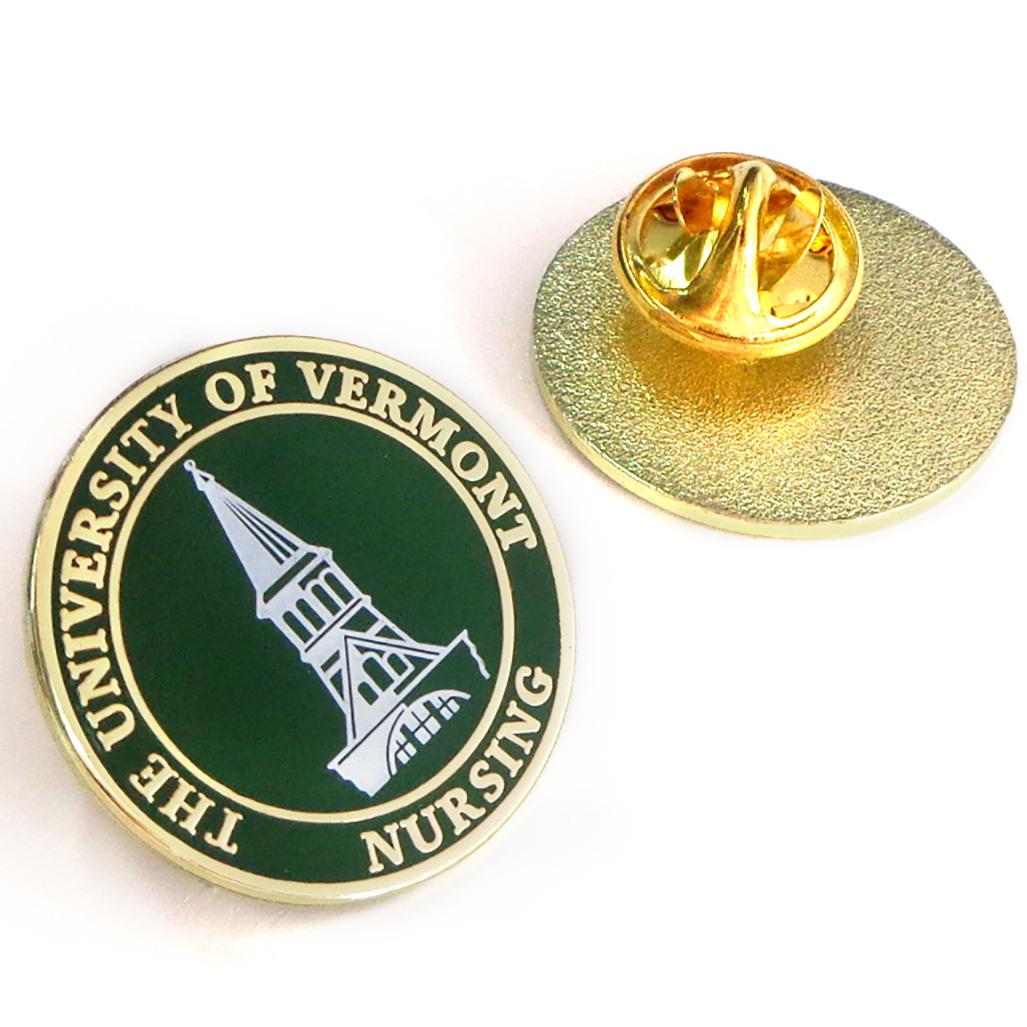
Before getting into the details of making your own enamel pins, it’s important to know the basic parts of pin design. These small art pieces need a mix of creativity, good materials, and careful work. Every enamel pin has two main types: hard enamel and soft enamel. Each type has its own traits that affect how the pin looks, how long it lasts, and how much it costs. Hard enamel pins have a smooth and shiny finish, created through several firings and polishings. On the other hand, soft enamel pins have a textured look since the enamel sits a bit lower than the metal lines, giving them a vintage feel. Choosing between hard and soft enamel relies on your style, budget, and the detail you want. This guide also explains the differences between these types to help you make the best choices while making your pins.Types of Enamel Pins: Hard vs. Soft Enamel
While hard and soft enamel pins have the same basic shape, they differ in how they are made and their finish. These differences affect how the pins look and feel. Choosing between hard and soft enamel pins is an important part of your project. Hard enamel pins are made through several firings and polishes, which results in:- A smooth surface that is level with the metal lines.
- More durability and resistance to scratches.
- A higher price because of the detailed manufacturing process.
- A textured surface where the enamel sits below the metal lines.
- More room for detail and complex designs.
- A lower price compared to hard enamel pins.
Getting Started with Your First Enamel Pin Project
Starting your first enamel pin project can feel exciting and a bit overwhelming. But don’t worry! With the right tips and planning, making your first pin can be easy and fulfilling. Start by learning about the tools, materials, and design basics you need to create beautiful custom pins. This guide helps you find inspiration and learn about the manufacturing process. It gives you the confidence to go through every step. Embrace this creative journey and discover the amazing world of enamel pin production.Essential Tools and Materials for Making Enamel Pins
You don’t need a workshop filled with tools to make your enamel pin designs. Specialized manufacturers do the actual work. However, knowing how the process works and what materials you need is important. This helps you talk to the manufacturers and achieve a good final product. The manufacturing process starts with creating a mold based on your design. This mold is used in the stamping process to make the metal part of the pin. For the colors, powdered glass enamel is carefully placed into the design’s filled areas. Each color is applied and fired separately, which adds depth to the design. Even though you won’t be doing these steps yourself, understanding them will help you communicate better with manufacturers. This is especially useful when you discuss design details, color options, and any limits. Knowing about this process leads to better teamwork to get the perfect look for your enamel pin.Finding Inspiration for Your Pin Design
The journey to create an enamel pin starts with a spark of ideas. You can find inspiration in many places. It might be a piece of artwork, a favorite hobby, a strong quote, or even ordinary items looked at differently. Stay open to your surroundings, as they can be good sources for pin designs. When you have an idea, start by sketching it! Don’t worry about making a mess. Try different versions and improve your idea. The best enamel pins are often simple, with bold pictures. Programs like Adobe Illustrator can help you turn your sketches into digital formats that manufacturers can use. While digital tools are helpful, don’t forget the magic of hand-drawn sketches. They can show your raw creativity and help you explore design ideas. Use both traditional and digital methods to inspire your imagination and create amazing enamel pin concepts.Step-by-Step Guide to Creating Enamel Pins
To make your creative idea into a real enamel pin, you need to follow some careful steps. Each step builds on the last one to make sure everything goes well. This section will help you understand the process. It offers clear instructions and helpful tips to guide you through each stage with confidence. From coming up with your design to getting it ready for production, knowing how this all works helps you talk well with manufacturers. It also helps you keep control over your creative vision. Get ready to change your ideas into real pieces of art.Step 1: Conceptualizing Your Design
It all starts with a good idea! But think about how it will look as an enamel pin. A detailed illustration might not work well when it’s made smaller. Instead, use simple designs with bold lines and clear elements. Keep in mind that enamel pins are small. So, don’t add too many small details that may get lost. While you plan, consider your target audience, the message you want to share, and the overall look you want. A clear concept will help guide the whole process. Don’t hesitate to explore your ideas. Sketch out different versions and try different color combinations. Keep improving your concept until you have a design that looks good, leaves an impact, and represents your original idea well.Step 2: Translating Your Design into a Digital Format
With a strong design idea ready, it’s time to turn your vision into a digital format for making your product. This step means changing your sketches or hand-drawn designs into vector files, usually using software like Adobe Illustrator. Vector files work with math to show images, so your design stays sharp and clear no matter how you resize it. This ability to change size is important for making enamel pins. The designs must be able to change size without losing fine details. When making your vector file, make sure your lines are smooth and connected. Assign colors correctly, and change any text into outlines. This way, you avoid problems with fonts. A good digital file helps the manufacturing process run smoothly, reducing mistakes and making sure your final product matches your original design. Take your time, focus on each detail, and don’t be afraid to find tutorials or ask for help if you need to learn how to create vectors.Step 3: Selecting Colors and Materials
The right colors can really bring your enamel pin design to life. They can create feelings, make visuals better, and share your message well. Think about using a Pantone color guide. This will help you match colors correctly when making your pins. Pantone colors are the same across industries, so you won’t have any mix-ups. Also, the type of enamel you choose matters. Hard enamel usually shows brighter and deeper colors. Soft enamel might have slight shade differences. If you are unsure which to pick, ask your manufacturer for samples to help you decide. Besides colors, think about using special effects like glitter, glow-in-the-dark powder, or shiny finishes. These features can add fun, highlight details, or make your design more appealing.Step 4: Choosing the Right Manufacturer
Selecting the right manufacturer is very important to make sure your enamel pins are made to a high standard. There are many options available, especially in China, where most enamel pins are made. This can make choosing a manufacturer feel overwhelming. Start by researching good manufacturers on sites like Alibaba. Read reviews, compare pricing, and look closely at their production abilities. Find manufacturers who focus on the type of enamel pins you want, like hard enamel, soft enamel, or more detailed designs with 3D molding or special plating. Ask for quotes from several manufacturers. Clearly state what you need, such as pin size, enamel type, colors, quantity, and any special requests. This will help you get accurate pricing and make good comparisons. Good communication is very important! Pick a manufacturer who responds quickly, answers your questions, and understands your project well. A good working relationship with your manufacturer helps build trust. This can lead to a smoother production process and better-quality enamel pins in the end.Step
5: Prototyping and Sample Approval Once you’ve picked a manufacturer and sent them your digital files, the next step is to make a prototype or sample. This step is very important for checking the design, colors, and overall quality before starting the full production run. Your manufacturer will usually make a sample based on your digital design. After you get the sample, check it carefully. Look at the colors, size, and small details to make sure everything is perfect. If you see any problems or want to make changes, let the manufacturer know. They can make the changes to make sure your final product meets your expectations. Sample approval is a key milestone. It confirms that your vision will become a reality. Don’t rush this step. Take your time to make sure the sample is exactly what you want. This helps avoid mistakes and makes sure your enamel pins are perfect.Step 6: Mass Production and Quality Control
After you approve the sample, your manufacturer will start mass-producing your enamel pins. At this stage, everything comes together. It’s important to make sure quality control checks are in place to keep the standard of your enamel pins high. During mass production, the manufacturer stamps, fills, polishes, and finishes your pins according to your approved sample. Make sure to check with your manufacturer about their quality control processes. Confirm that they will carefully inspect each pin for defects, alignment, and color accuracy. Many manufacturers will send you a final batch for quality approval before finishing the whole run. Take this chance to do a last check. Pay attention to small details to make sure everything matches your standards. This step will give you confidence that your enamel pins will be well-made and ready for distribution.Step 7: Packaging and Distribution
With your enamel pins made and approved, it’s time to think about packaging and distribution. The right packaging not only protects your pins but also adds to their appeal. This creates a good first impression for your customers. Consider using custom packaging that matches your brand or the theme of your enamel pins. This could be simple backing cards, special pouches, or custom-designed boxes. High-quality packaging shows professionalism and care. It can also make your product more valuable. For distribution, choose reliable shipping methods that protect your enamel pins during transit. For larger orders, find fulfillment centers that can help manage your orders and shipments. The goal is to make sure your enamel pins reach your customers in perfect condition. This makes them happy and builds trust in your brand.Marketing and Selling Your Enamel Pins
Making amazing enamel pins is just the first step. Now, you need to sell them. With the right marketing plan, you can show off your designs to a wide audience and turn your creative ideas into a successful business. Start by using social media platforms like Instagram, Etsy, and Pinterest to share your designs. Show pictures, post behind-the-scenes looks at your work, and use good hashtags to reach possible customers. Building a strong online presence is important for reaching a bigger audience and connecting with people who like your work. If you’re thinking about starting a business with your enamel pins, think about setting up your own website. This lets you control your brand’s image, offer a unique shopping experience, and build a loyal customer base. Also, try attending craft fairs, art markets, or pop-up shops. These events let you meet customers, show off your pins in person, and get direct feedback. By mixing online and offline marketing methods, you can build a strong brand and create excitement around your enamel pin creations.Building a Brand Around Your Enamel Pins
If you want to turn your passion for enamel pins into a business, building a strong brand is very important. A good brand identity sets you apart in a crowded market. It helps you connect with your target audience on a deeper level. Start by defining what makes your designs unique. This could be your artistic style, the themes you explore, or the stories your pins tell. Build a brand story that connects with your audience. Share your journey as a pin maker, your creative process, and what inspires your designs. Next, make sure your branding is consistent. Use the same logos, colors, fonts, and messaging across all your platforms. This includes your website, social media, packaging, and promotional materials. Consistency helps people recognize your brand quickly, and it builds trust with your customers. To grow your brand, think about working with influencers, artists, or other pin makers. Collaborations can help you reach new audiences and create buzz around your products. Also, keep learning and improving. Stay updated with trends in the pin community. Always look for ways to improve your designs, marketing, and customer service. With passion, creativity, and careful planning, you can turn your enamel pin hobby into a successful brand that people love and follow.Expanding Your Enamel Pin Collection
Once you have made and sold your first enamel pins, it’s time to think about expanding your collection. Having a range of designs keeps your brand fresh and gives your customers more choices. It also lets you explore new ideas, styles, and themes. When adding new pins to your collection, consider your current bestsellers and customer feedback. Use this information to guide your next designs. Mix popular trends with your unique style to create pins that attract both new and returning customers. Also, think about making pin sets or limited-edition collections. These can create excitement and urgency among buyers. They are likely to buy more when they see something new or exclusive. Limited editions can also raise the value of your pins over time, making them more desirable. Keep engaging with your audience through social media, newsletters, or surveys to understand their likes and needs. This helps you create designs that connect with them. By growing your enamel pin collection, you can keep your brand exciting and build a loyal following of collectors and fans.Conclusion
Creating custom enamel pins is a rewarding process that lets you share your creative ideas with the world. With the help of this complete guide, you can confidently go from imagining your designs to making them real. Whether you’re starting a new hobby or thinking of building a business, this guide covers every step in the journey. From understanding the types of enamel pins to finding inspiration and learning about the production process, you have the knowledge to bring your ideas to life. By carefully following each step, you can create enamel pins that look amazing, tell a story, and leave a lasting impression. So, what are you waiting for? Dive into the creative world of enamel pins and start making your own designs today. Let your imagination run wild and enjoy every part of the process. Happy pin-making!Frequently Asked Questions
What is the difference between hard and soft enamel pins?
Hard enamel pins have a smooth and strong surface that is even with the metal lines. This makes them feel high-quality. On the other hand, soft enamel pins have a textured surface. The enamel sits a bit lower than the metal lines. Because of this, soft enamel pins are usually cheaper.
How long does it take to produce enamel pins?
Production time can change based on the manufacturer, the order quantity, and how complex the design is. Generally, it takes about 2 to 4 weeks to make the products. Then, you will need extra time for shipping.
Can I make enamel pins at home?
Making good enamel pins at home is quite hard and not very practical. You need special tools, skills, and safety measures because it involves high heat. It’s better to let experts handle the production.
How do I price my enamel pins for sale?
Think about your production costs. This includes manufacturing, shipping, and packaging. Also, consider how much profit you want to make. Look at what similar enamel pins are selling for in the market. This will help you set a fair and competitive price for your enamel pins.
Comments
Related Blog
Learn about the latest trends and common sense in the custom pin business from our blog.


